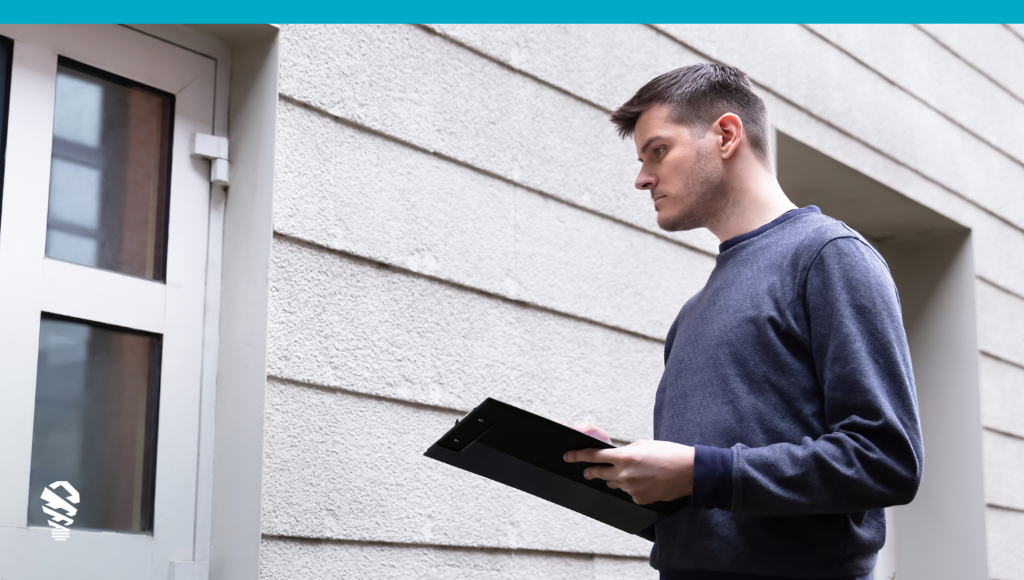
Roofing is a dangerous industry. Historically, that danger started during the inspection process for estimators before contracts were even signed. An estimator would need to:
- Remove the ladder from their truck
- Equip safety equipment depending on the pitch of the roof
- Place the ladder and climb the roof
- Meticulously take measurements of every facet, often accompanied with an inspection (this is the big time suck)
- Add up facet measurements to receive a square count and additional items for the roof
Luckily, there’s a better way.
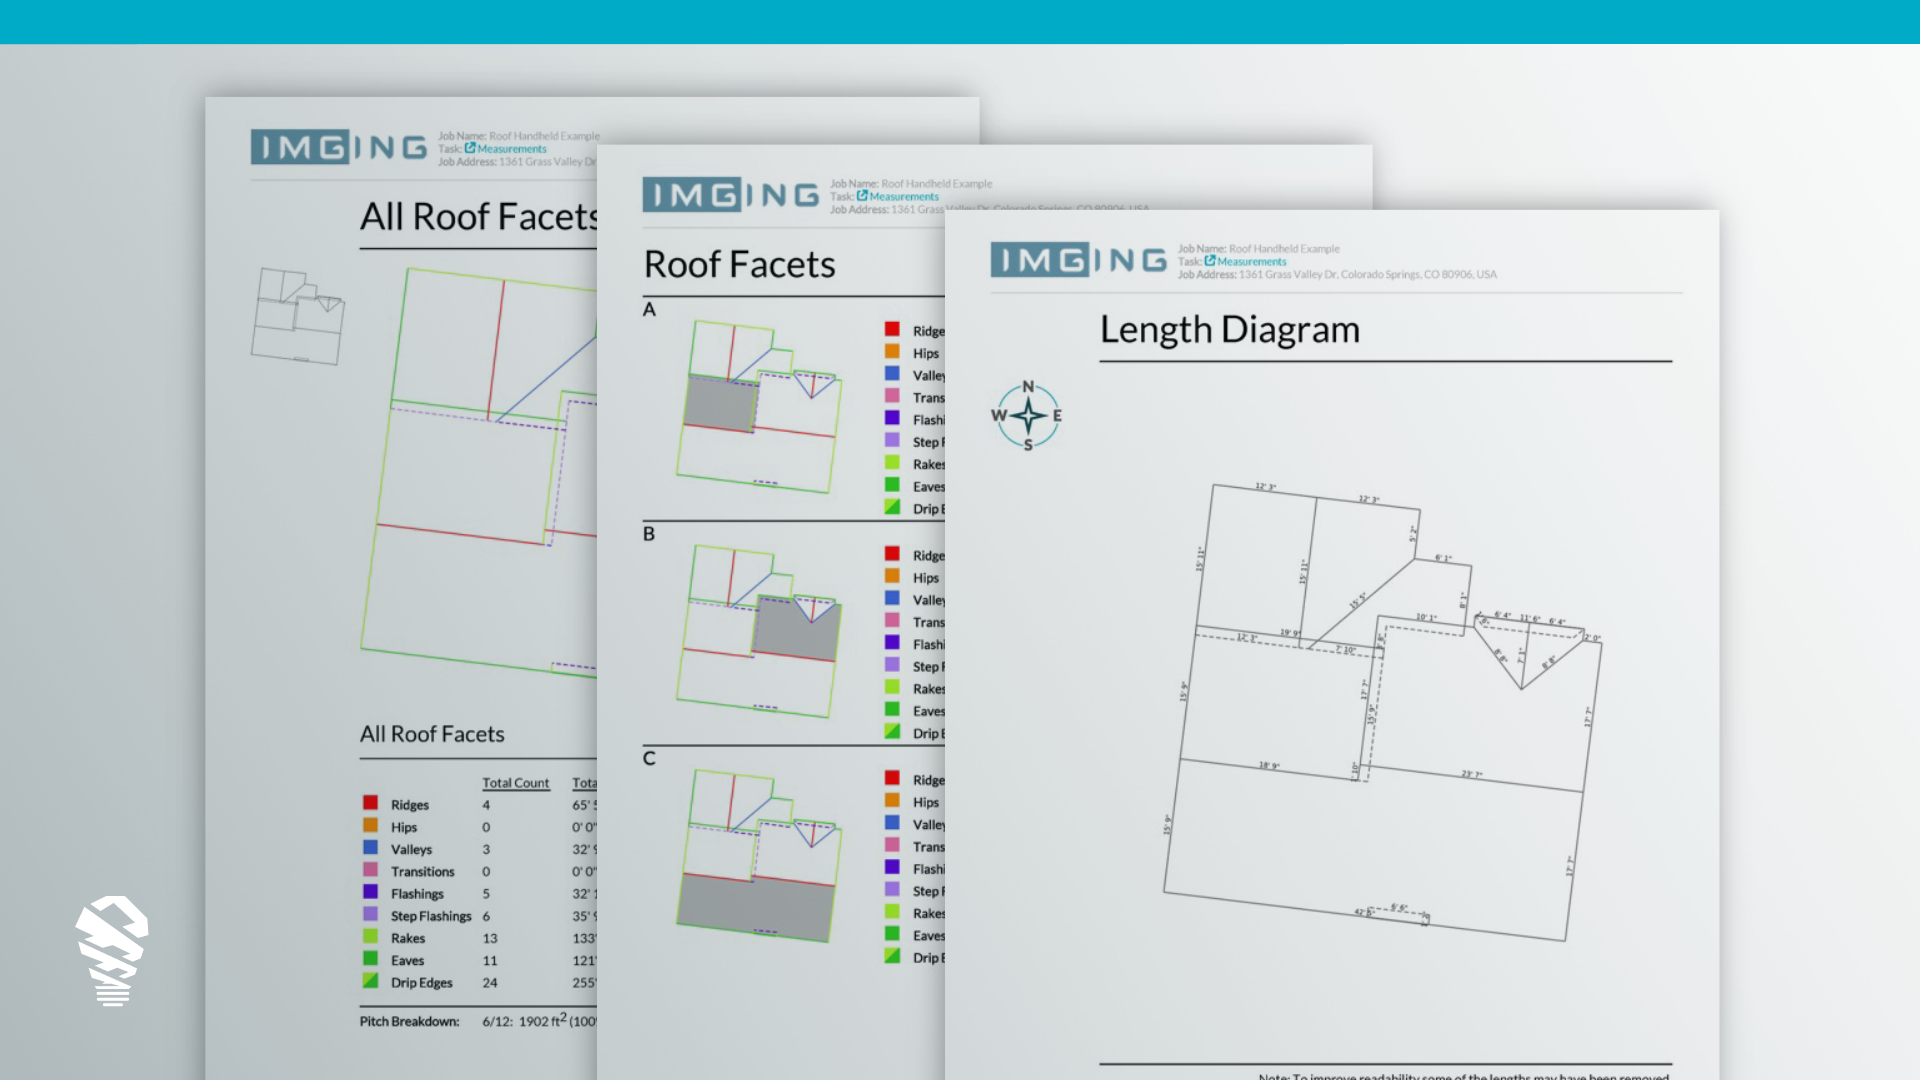
Today, instead of a ladder and measuring tape, all you need is a compatible drone, IMGING Flight software, and time for a six minute automated flight. After that, roof measurements from a drone will be at your fingertips. But why is getting drone measurements better than aerial measurements? Drone roof measurements take you beyond a simple square count. The data capture by a drone is unbeatable, making it possible to map measured penetrations in the roof, create CAD files, and much more automate details you can’t get from other data sources. Let’s dive into how it works.
How To Get Drone Roof Measurements with IMGING
At the job site, you’ll deploy a drone and RC Pro (or iOS device, for older versions) equipped with IMGING software to digitally capture the property. In addition to roof measurements, you get what is termed a “digital twin” or a 3D model of the property. Each digital twin is a digital replica of a physical asset, you can read more about it from IBM here.
In property inspections, it’s particularly valuable because it provides a comprehensive, accurate representation of the property. This allows for detailed analysis and assessment after you leave the site, enabling remote inspection, assessment, and measurement of the property. It’s crucial for optimizing maintenance, planning renovations, and enhancing property management practices by offering insights that would be challenging to obtain through traditional inspection methods.
The creation of the digital twin takes you beyond roof measurements from a drone and gives you everything measurements from a drone. Everything measurements? What’s that? On a 3D model digital twin, you can measure the distance between two points, the slope of a line, and any surface area on the property.
Start by setting up a job by address, setting up a flight plan, and quick airspace check. This might take about 60 seconds, after which the drone autonomously flies the property, gathering images and measurements in about six minutes. You can pre-program detailed checks where the drone’s zoom camera focuses on a points of interest during its flight. You can also pause and take over flight controls for further investigation or image capture as needed, enhancing the inspection process.
Summary on How To Get Drone Roof Measurements
- Create a job in IMGING by entering the address
- Launch the drone while IMGING automatically follows a patented flight pattern designed for drone roof measurements
- Transfer data from the to an internet connected device, and upload from the device to the cloud
- After some processing, you will be notified roof measurements are available. They are viewed layered on top of a 3D model in the IMGING app
Explore, Analyze, and Act
As an inspection software solution, measuring is only part of what IMGING offers. It also provides an elegant workspace to inspect the digital twin, measure anything, annotate photos, build custom inspection reports, push into estimating platforms, and analyze for damage with AI.

![How to Measure a Roof With a Drone [Updated April 2023]](https://www.lovelandinnovations.com/wp-content/uploads/2024/04/How-to-Measure-a-Roof-With-a-Drone-Updated-April-2023-1024x576.png)


